
Our front door opens right into our TV room, which I'm not really crazy about. If I had it to do over again, I would build a house with a formal foyer. Long on my list of home decor improvements has been to define our entry way more dramatically. We started that definition with the Hemnes sofa table from Ikea (click }here{ to see it on the Ikea website), and that helps separate the entry area from the TV room. It also gives everyone a place to put all their stuff as they come in the door. The bottom cubbies are perfect for shoes, which wasn't my House Beautiful plan, but I had to concede to functionality on that one. Four kids, four cubbies - this was a losing battle. It isn't lovely, but it works better than a jumble of shoes on the floor by the front door.
We upgraded the entry light fixture two years ago. Initially, it was a standard flush to the ceiling light, and the change to an Allen & Roth chandelier adds just the right amount of sparkle. It adds more than just illumination - the shadows that it casts in the room are lovely, too.
Last Friday, with the weekend stretching luxuriantly empty before me, I knew must paint. I had an itch to paint so badly that I disregarded my research, blew off the possible mistakes, bothered not to change clothes, and refused to acknowledge I didn't have all the supplies I needed, because I absolutely, positively had to paint. Anything would do, but with the paint and (most of) the supplies to transform the front door sitting right there, the mission was clear.

I used Sherwin Williams Black Magic (click }here{ to see it on their website) in semi-gloss enamel. I had most of the supplies I needed, except for painter's tape, but that didn't stop me. I don't necessarily recommend going in on a paint project without painter's tape, unless you find yourself facing an undeniable urge to paint, and paint this very minute, r i g h t n o w. If that's where you are, you have no choice but to give in to it, I understand completely!
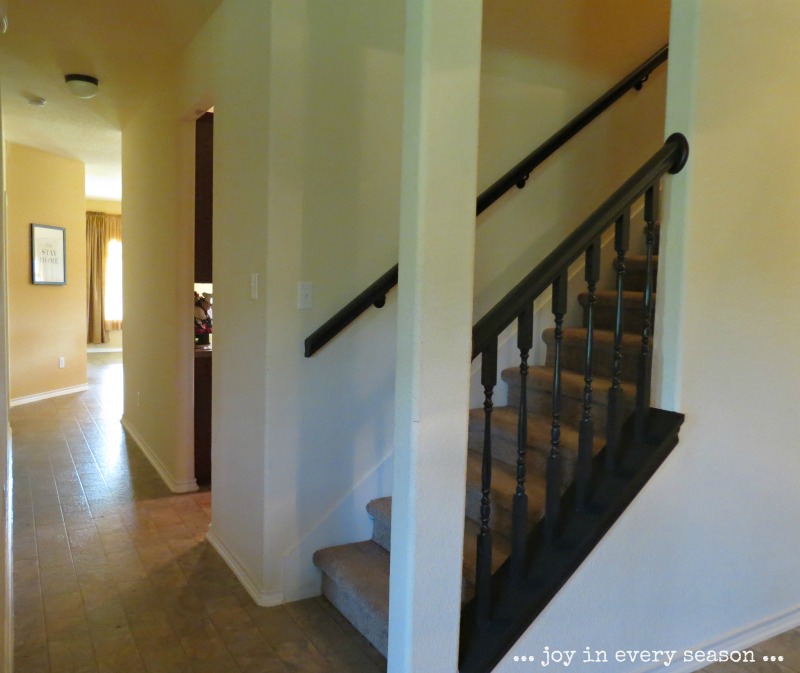
Here is our entry before, with white doors and few accessories:

And ta-da! Here is the after:

I began with painting the front door, and that was really all I planned to do. But, as always when I get a paintbrush in my hand, as soon as the first item has a fresh coat of paint, all I can think is, "I must paint ALL the things!!!" It was inevitable that the office doors were next - they were irresistible. The front door covered nicely with two coats of paint, but the office doors required a third coat since after the second coat it was still a little patchy.

LtDan was instantly on board (he gets me - one of the many reasons why I love him), but the kids ... oh, the kids. First, they were speechless, and then came the questions.
"Oh. You're painting it ... black?"
"Are you going to leave it like that?"
"Are you going to leave it like that?"
"MOM! What are you doing?"
"Have you ever ... you know ... seen anything like this before?"
Obviously, they are not acquainted with Pinterest.
Next to go under the brush was the stair rail.

And what the heck, the spindles and base, too.
With the front door, the office doors, and the stairway rail and banister transformed, I wasn't done, I was inspired. Who wants to stop now? Not me, that's for sure.

The back door was next.


The black pops out, it blends in with the room as a whole far better than the white did, and the door seems more substantial in black. Also: bonus! a door painted black won't show the grime as much as a door painted white!

While I was at it (this is why projects are never quick for me, I always find side projects) I opted to paint the lightswitch plates as well. If your switch plates are cheap plastic ones like mine, you'll need to paint them with a coat or two of stain blocker (Kilz) before you apply the paint. I painted several switch plates since I had the project going, but I still missed a few. To paint the screws, I grabbed a box that was headed for the trash, punched holes in it, set the screws into the holes and painted them right on top of the box. Much to the relief of my children (seriously - they were concerned), I didn't paint the switch plates black, but just the same color as the walls, so they blend in.

Before I embarked on this project, I found lots of inspiration on the internet, chief among them being Jennifer's painted doors at Dimples and Tangles. She painted all her interior doors and they are show stopping gorgeous. Seeing her front door beside the office door was the vision I needed to get myself going. Click }here{ to see Jennifer's beautiful home.

image source: Dimples and Tangles
I also researched how to's, and followed Sarah's suggestion for how to paint doors }here{ at Thrifty Decor Chick - she has beautiful black doors, too! Painting beveled doors is pretty basic, and yet there are nuances. This post is really helpful for the order in which you'll want to paint the surfaces.

image source: Thrify Decor Chick
Finally, I reviewed Allison's saga of her "Most Epically Horrendous DIY Disaster to Date" at House of Hepworth's. Click }here{ - you've got to see it to believe it. It's a heartbreaker, but she shares her experience about using the wrong kind of paint with a great sense of humor.

image source: House of Hepworths

If you're thinking about painting your interior doors, my advice is do it - you'll love the (possible domino) effect! It'll never be 'just this one thing' for me when it comes to painting. I can always find one a few more things to paint while I have the paint and brushes out, which is great, because after this weekend my perfect house is a about five projects closer to me, and a little further from infinity :o)

I'm sharing this post at the Thrifty Decor Chick July Before and After Party ...
click below to see some fantastic before and afters!

I'm curious to know if you painted the other side of the office doors black, too? Good job! Colleen
ReplyDeleteI'm curious to know if you painted the other side of the office doors black, too? Good job! Colleen
ReplyDeleteHey Colleen! oh, it was SO tempting to do the inside of the office doors, but I didn't because my time was somewhat limited. I think I probably will at some point, though, since we like to leave the doors open sometimes and well, gee, there's plenty of paint left! Then I'll have to figure out what ELSE I can paint while I'm at it again :)
Delete